Whether it’s a basement in your office, bar, hotel, or a basement at home, finishing your basement is not a simple deal. For one, you need to create a suitable design that matches your needs. Another, picking the right materials and utilities to be set up for your extra space needs to be carefully planned. Most common issues with structuring the basement involve leaks, dampness, and improper electrical and lighting installation.
How long does it take to finish a basement?
Finishing a basement usually takes 4 to 8 weeks, depending on the design and other customizations to be incorporated in the build. You can always check for a professional basement finishing company to make sure you can achieve your stylized basement in time for your needs. But if you’re thinking about doing it yourself, you can check on this step-by-step guide on how to finish your basement to avoid delays.
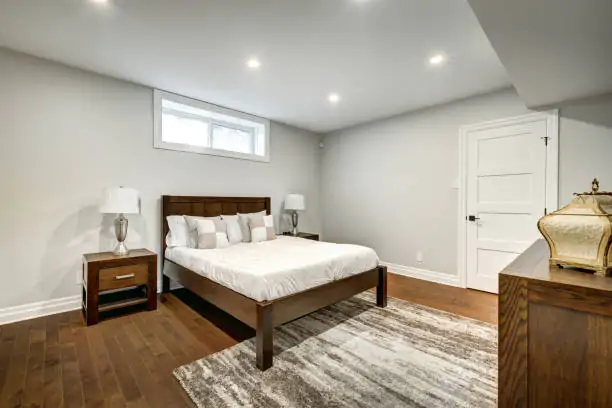
1. Create a design for your basement.
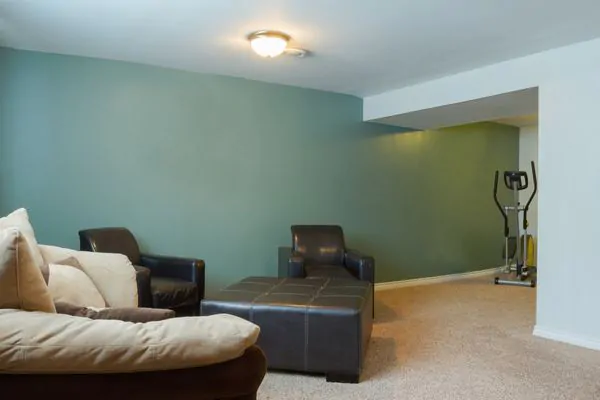
It is very important to carefully make a plan for finishing your basement. It should include floor plans, ceiling, walls, electrical wiring, insulation, or as what your needs require. You might like to make a neat and clean office, or a basement bar, or it can be a home theater. Explain the objectives of your design to your contractors. This goes for whatever type of room you are looking for, from office to basement fitness room. Communicate your preferences clearly so your design and plan can be actualized.
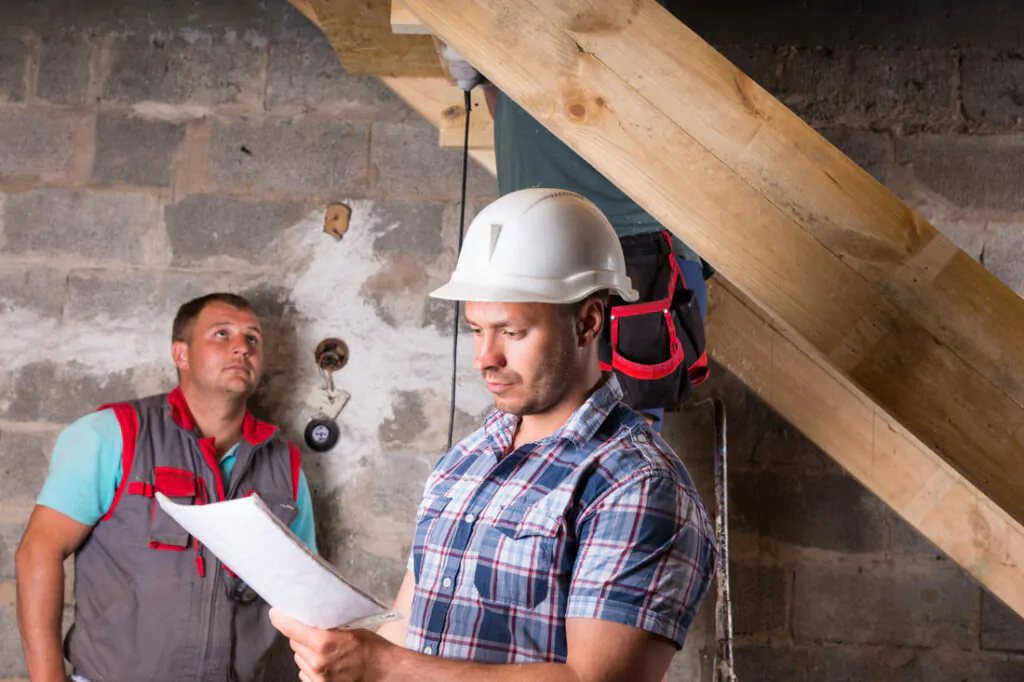
2. Apply for a building permit.
Finishing a basement may sound like not much of a deal. However, before you get into action, do not forget to apply for a permit. It is very necessary since electrical and structural work is an inevitable part of the whole building process. Having a permit is also beneficial since it will allow you to contact an inspector. You will be glad to have it when you decide to sell your house.
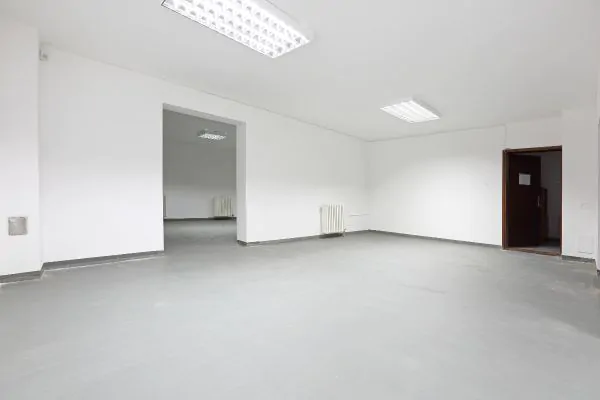
3. Clean your basement.
As you wait for your permit to be approved, clean your basement entirely. Seeing that space in your basement will allow you to see the entirety of your basement design. You don’t want yourself getting caught up with all the mess while working on the project, right?
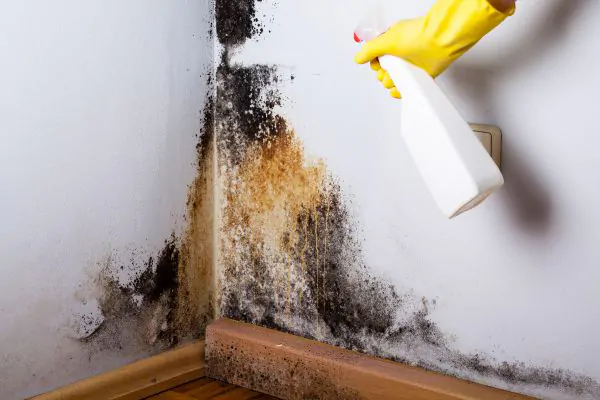
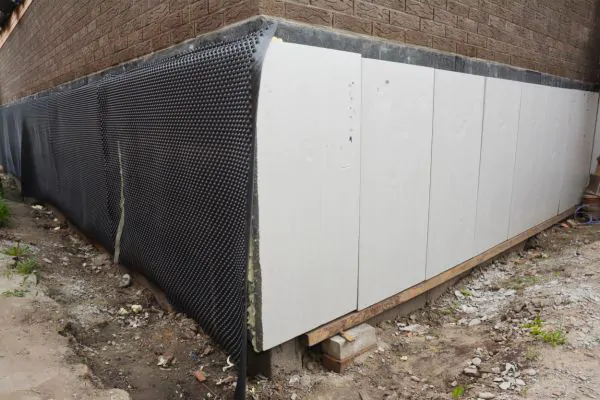
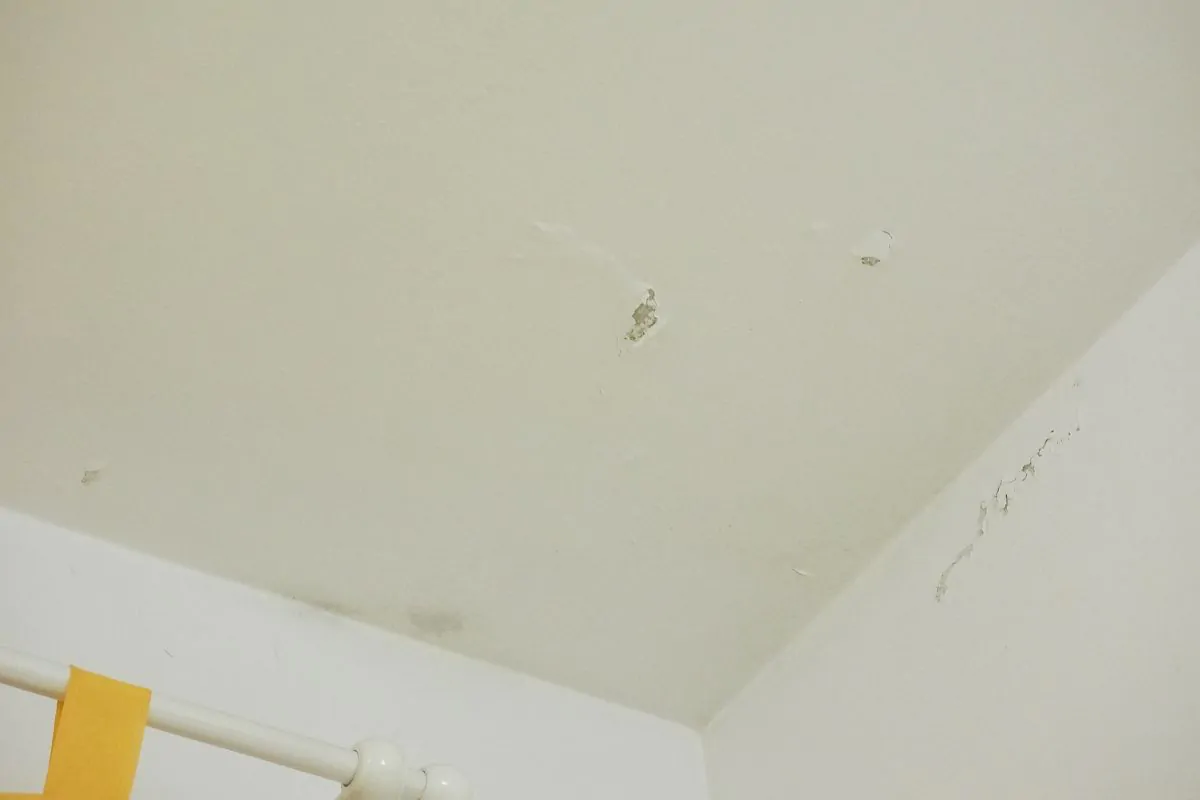
4. Resolve moisture issues.
Basements have high risks for water leaks, so you must make sure that causes of possible leaks are taken care of. Do not mount drywalls before resolving water and moisture issues. You may need to have a full basement waterproofing.
5. Pick tools and materials fitted for your basement design.
There are many considerations when choosing materials. While it’s important for you to think about the budget, you can’t compromise quality while materializing your design. The things that you may include in the list are: drywall, insulation, flooring materials, ceiling, lights, wires, frames, doors, paints, and other utilities you need to be installed. Always think ahead of time and communicate your choice of materials with your basement finishing company.
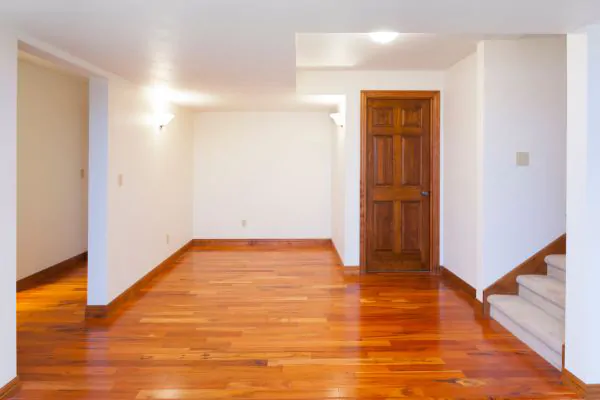
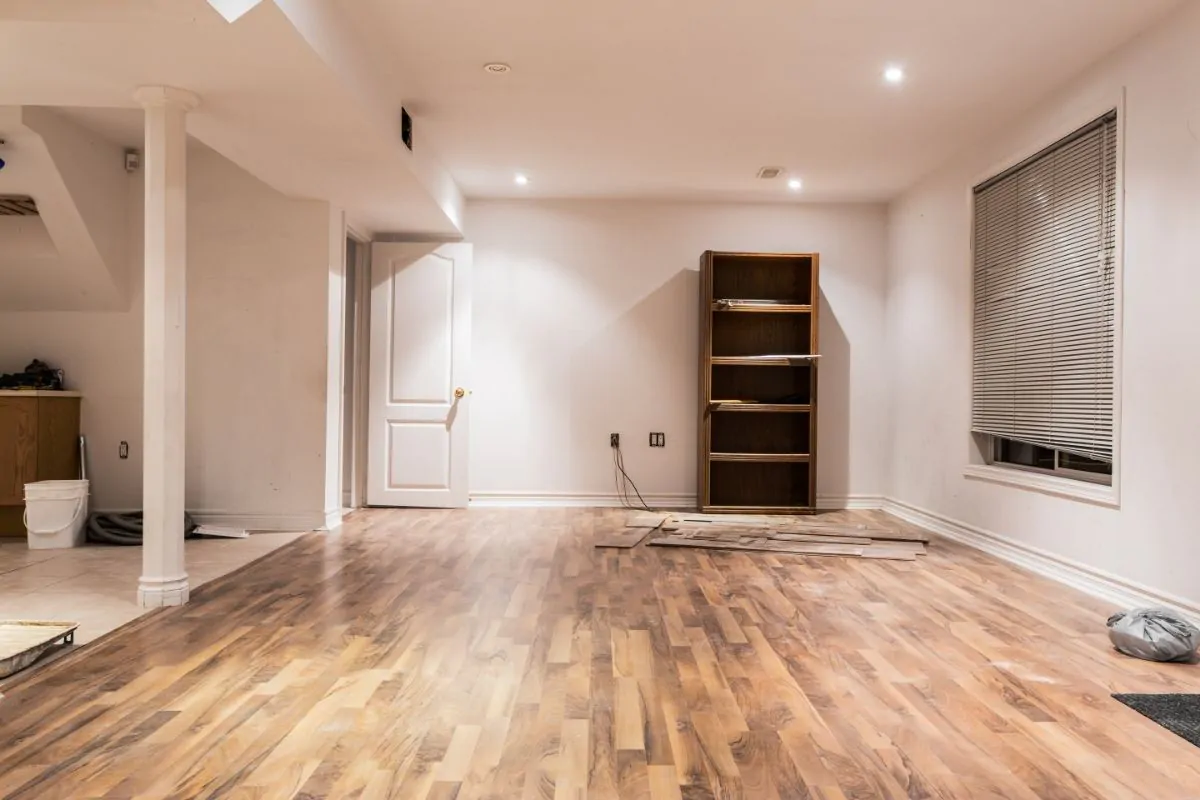
6. Finish the basement walls.
You need to be extra attentive in finishing your basement walls. Before you do the actual finishing, you first need to set-up your electrical wirings or other utilities that need to go behind the wall. To finish the wall, you have to insulate it, then frame, install other utilities, mount drywall, and finally paint it.
7. Finish the ceiling.
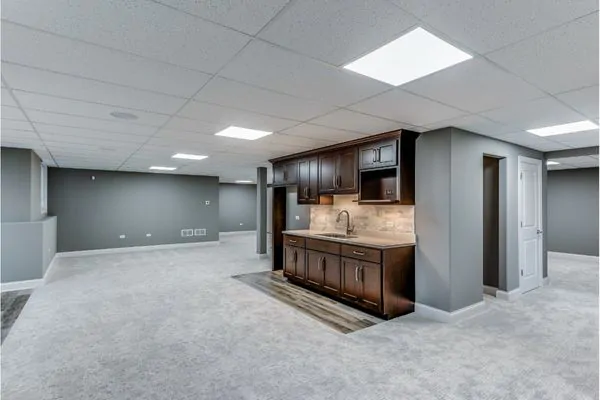
There are three popular styles for basement ceilings. You can opt for an exposed ceiling, or have a dropped ceiling by installing a secondary ceiling next to the structural ceiling. Or, you can simply have a drywalled ceiling which has a similar process with drywall.

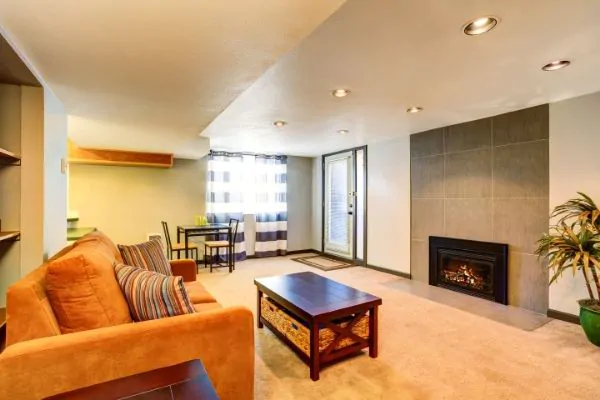
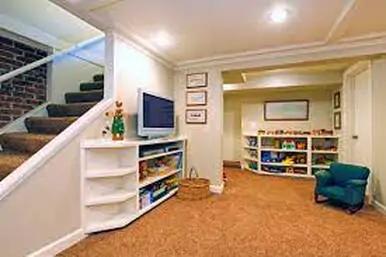
Your basement is ready! Do not limit yourself to a single design, be creative and change furniture arrangement or decorations once in a while. Sit back and enjoy your new space!