Skip to content

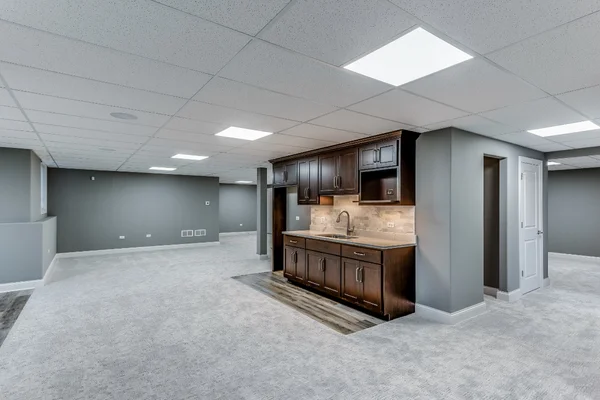
Transforming an unfinished lower level into a functional living space is one of the best ways to increase your home’s value. However, the overhead view is often the biggest hurdle. When you begin installing ceiling tiles in basement settings, you aren’t just hiding unsightly pipes and wires; you are creating a professional, polished atmosphere that makes the room feel like a true extension of your home. Understanding how installing ceiling tiles in a basement works is critical to pulling off this project.
Unlike drywall, which can be a nightmare to install below grade, ceiling tiles for basement applications offer a modular, flexible solution that addresses the unique structural challenges of subterranean living. In this guide, we will walk through the essential materials, professional installation steps, and the critical factors that ensure your new ceiling remains beautiful for years to come.
Installing Ceiling Tiles in a Basement: What Homeowners Should Know First

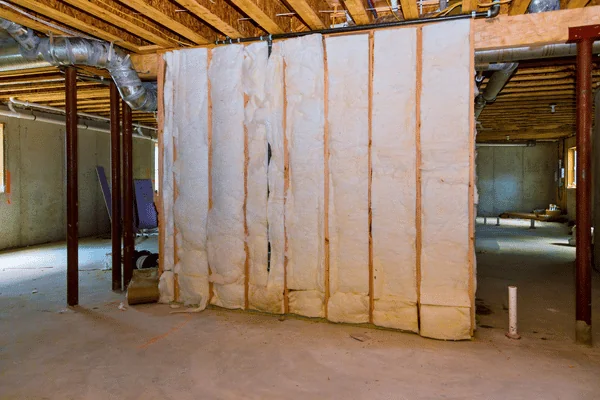
Before the first grid is hung, it is vital to acknowledge that basement environments are fundamentally different from the rest of the house. Basements are prone to higher humidity levels and are the primary highway for your home’s veins, the plumbing, electrical, and HVAC systems.
Because you may need to access a shut-off valve or a junction box in the future, a permanent ceiling like drywall is often a mistake. Basement ceiling tiles provide the perfect middle ground: they hide the mess while maintaining 100% accessibility. Furthermore, you must consider the floor-to-ceiling height. In many older homes, every inch counts, so choosing a low-profile grid system is essential to avoid a cramped feeling.
Key Basement Challenges Before Installation
- Moisture and Humidity: Even a dry basement can have high ambient humidity. Without the right materials, standard tiles can sag or harbor mold.
- Utility Access: You must plan around drain lines, gas pipes, and ductwork that may hang below the joists.
- Obstructions: Structural beams and low-hanging headers require creative box-outs or specialized grid heights.
Best Ceiling Tiles for Basements: Choosing the Right Material
The material you choose will dictate the longevity of your basement renovation. In the past, homeowners were limited to office-style mineral fiber, but today’s market offers a variety of high-performance basement ceiling tiles.
Moisture-Resistant and PVC Ceiling Tiles
For areas with any history of dampness, PVC is the gold standard. These tiles are waterproof, meaning they won’t sag, rot, or stain if a pipe leaks above them. They are incredibly easy to clean and are naturally resistant to mold and mildew, making them the safest bet for subterranean environments.
Acoustic and Decorative Tile Options
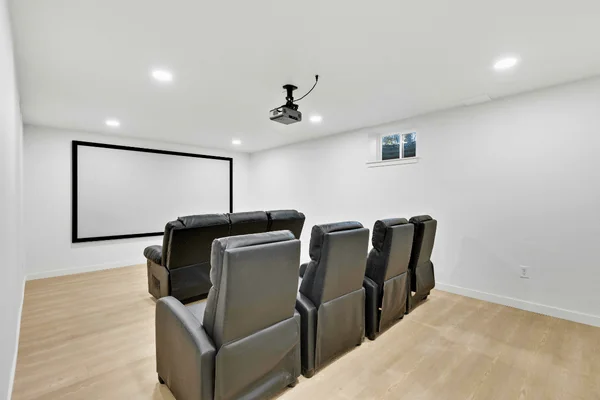
If your basement is destined to be a media room or a gym, look for High-NRC (Noise Reduction Coefficient) tiles. These acoustic options absorb sound waves rather than reflecting them, preventing that echoey basement sound. For those prioritizing style, tin-style or coffered PVC tiles can provide a luxury, upscale aesthetic that mimics high-end architectural millwork.
Step-by-Step Process for Installing Basement Ceiling Tiles
A professional-looking ceiling relies entirely on a square and level grid. If your grid is off by even a fraction of an inch at the start, the error will telegraph across the room, leaving you with crooked tiles at the far wall.
Grid System Setup and Planning
- Find the Low Point: Locate the lowest-hanging pipe or duct. Your entire ceiling must sit at least 3 inches below this point to allow the tiles to be dropped into the grid.
- Mark the Perimeter: Use a laser level to mark the height on all four walls.
- Install Wall Angles: Secure the L-shaped perimeter track along your level line.
- Hang Main Runners: These are the long, heavy-duty rails supported by 12-gauge hanger wires attached to the joists.
Placing Tiles and Finishing Work
Once the grid is level and secure, installing ceiling tiles in basement spaces becomes a game of place and fit. Always start in the center of the room to ensure that the border tiles (the ones you have to cut) are of equal size on opposite walls. Use a sharp utility knife and a heavy straight edge for cuts, and always wear eye protection when working overhead to avoid falling debris.
Basement Ceiling Tiles vs. Drywall: Which Is Better?
This is the most common debate in basement design. While drywall offers a seamless look, it is often a liability in a basement.
Accessibility and Maintenance Differences
If a pipe leaks above a drywall ceiling, you have to cut out the wet section, fix the leak, patch the hole, sand, and repaint. With ceiling tiles, you simply lift the stained tile out and replace it with a new one in seconds. This future-proofing is why most pros recommend tiles over drywall for any space containing critical home utilities.
Common Mistakes Homeowners Should Avoid
A basement ceiling project can look straightforward, but small oversights often lead to frustrating and costly problems. From moisture issues to layout errors, these common mistakes can compromise both appearance and durability. Understanding what to avoid before you begin helps ensure a smoother installation and a finished ceiling that looks professional and lasts.
- Ignoring Moisture: Never use standard dry-room mineral fiber tiles in a basement that hasn’t been properly waterproofed.
- Poor Layout Planning: Avoid sliver tiles at the edges. If your measurement leaves you with a 1-inch strip of tile at the wall, shift your entire grid layout by 12 inches to create a more balanced look.
- Over-Tightening Hanger Wires: This creates waves in the ceiling. The wires should be firm but not pulling the grid out of its level plane.
Avoiding these pitfalls isn’t about perfection, it’s about planning and awareness. Taking a little extra time to check moisture levels, map your layout, and handle materials correctly can make a major difference in the final result. A well-installed ceiling not only looks better but also performs reliably for years to come.
Cost Factors for Installing Ceiling Tiles in a Basement

The cost of installing basement ceiling tiles can vary widely depending on your design choices and project complexity. While materials are a major factor, labor, layout challenges, and additional features can significantly influence your final budget. Knowing what drives these costs helps you plan realistically and avoid unexpected expenses along the way.
Materials, Labor, and Hidden Costs
- Materials: Budget for tiles, main runners, cross tees, wall angles, and hanger wire.
- Labor: Professional installers generally charge per square foot, with higher rates for small, chopped-up rooms with many obstructions.
- Hidden Costs: Don’t forget the cost of recessed LED wafer lights, which are designed to sit flush within the grid system.
A clear understanding of all cost components allows you to make smarter decisions without sacrificing quality. By balancing material choices, labor needs, and optional upgrades, you can stay within budget while still achieving the look and functionality you want. Proper planning ensures your investment delivers both value and long-term satisfaction.
Do Basement Ceiling Tiles Require Permits or Code Compliance?
In most jurisdictions, a cosmetic ceiling replacement doesn’t require a permit. However, if you are finishing a previously unfinished space, you must comply with local fire codes.
Fire Safety and Building Code Considerations
Many local codes require fire-rated tiles, especially in mechanical rooms containing furnaces or water heaters. Additionally, codes usually dictate a minimum ceiling height (often 7 feet) for a room to be considered habitable space. Always check with your local building department before finalizing your plans.
Navigating building codes and ensuring a perfectly level grid can be a daunting task for many homeowners. If you want to guarantee a safe, compliant, and beautifully finished space without the stress of a DIY struggle, we are here to help. Our specialists understand the nuances of installing ceiling tiles in basement environments, ensuring every panel is perfectly aligned and secure.
Contact our expert team today to schedule a professional installation and let us bring your basement vision to life with precision and care! Let us help you with installing ceiling tiles in a basement and any other basement project you have lined up!
FAQ
1. How hard is it to install ceiling tiles in a basement?
Installing a drop ceiling is a moderate DIY project. The most difficult part is ensuring the initial grid is perfectly level and square. If you are comfortable using a laser level, a power drill, and a utility knife, you can achieve professional results with patience.
2. What are the best ceiling tiles for damp basements?
The best choice is 100% waterproof PVC or vinyl-faced mineral fiber. These materials do not absorb moisture, which prevents the sagging and “yellowing” common with standard organic-based tiles.
3. How much does a basement ceiling tile installation cost?
On average, expect to pay between $5 and $12 per square foot for professional installation, including materials. DIYers can often complete the project for $2 to $5 per square foot, depending on the quality of the tile selected.
4. Can I install ceiling tiles myself, or should I hire a pro?
If your basement is a simple rectangle with few obstructions, it is a great DIY candidate. However, if you have complex ductwork, multiple support beams, or want high-end coffered tiles, hiring a pro ensures a tight, seamless finish without wasted material.
5. Do ceiling tiles help with soundproofing?
While they won’t make a room soundproof, acoustic ceiling tiles significantly reduce echo and help dampen the sound of footsteps from the floor above. For maximum results, look for tiles with a high CAC (Ceiling Attenuation Class) rating.
6. Are drop ceilings better than drywall for basements?
Yes, in most cases. Drop ceilings provide essential access to your home’s plumbing and electrical systems. In the event of a leak or a need for a new wire run, you can simply lift a tile instead of tearing down your ceiling.